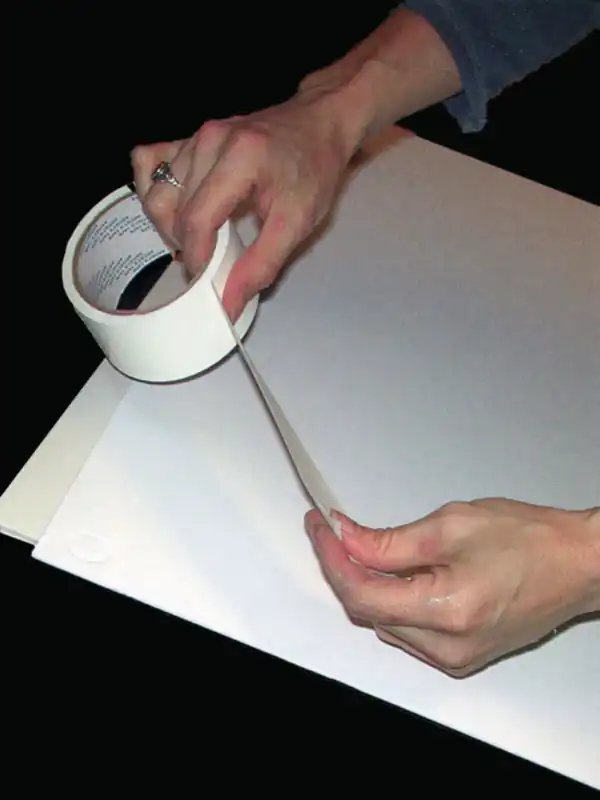
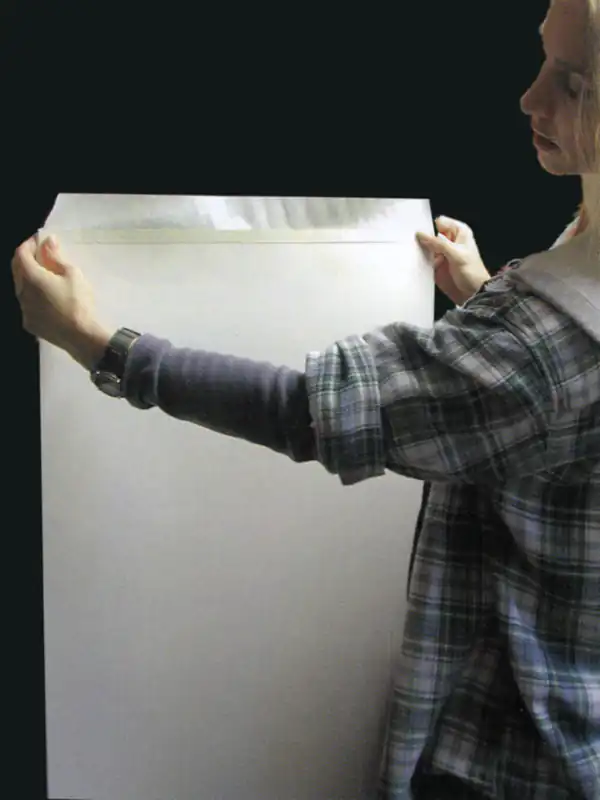
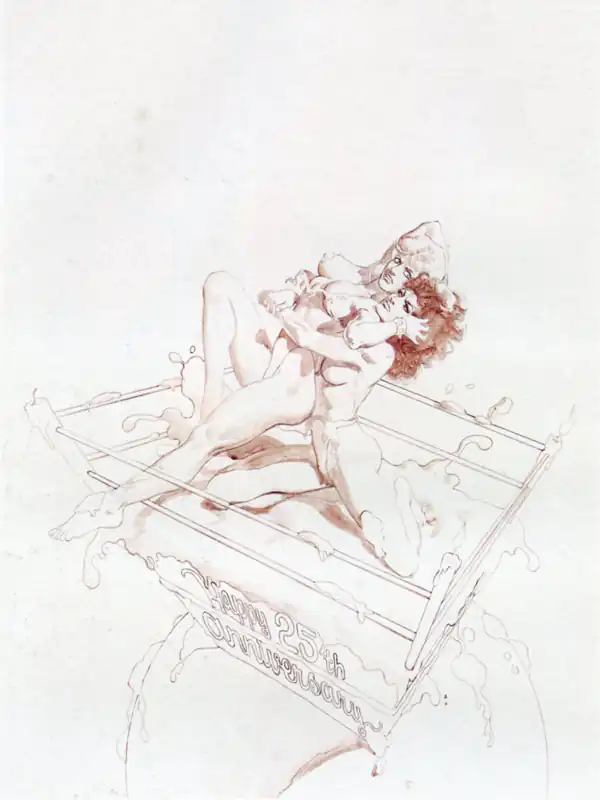
The first step with any painting is having a good surface on which to work.
Boris and Julie rarely use canvas for their illustrations, they find the texture of illustration-board provides the fine detail they require.
By choice, Boris and Julie use Strathmore cold press, double weight illustration board. This is made of 100% cotton, is acid free and permanent.


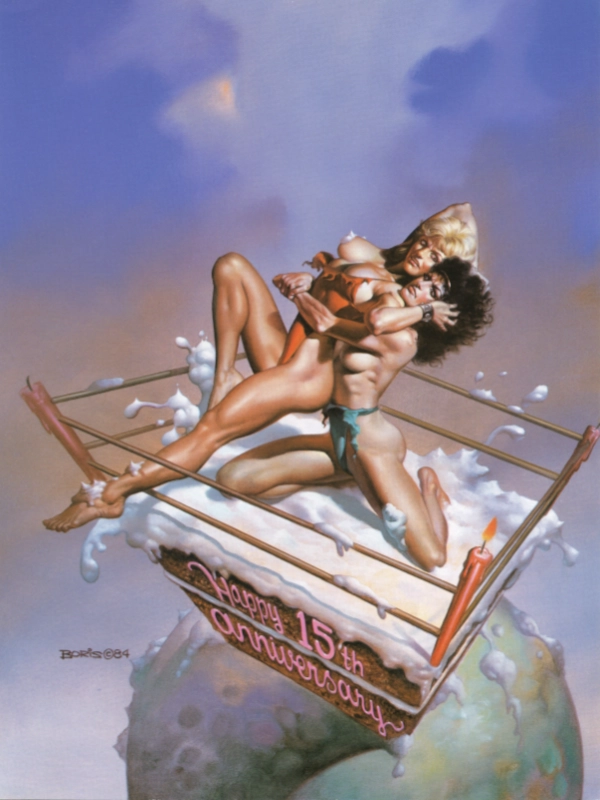
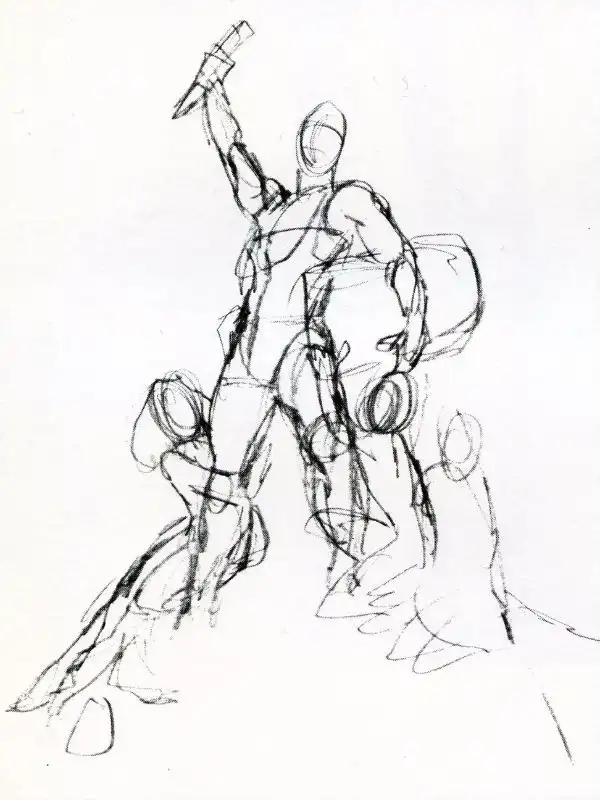
The starting point for Boris and Julies pictures is usually a rough, or even quite detailed sketch.
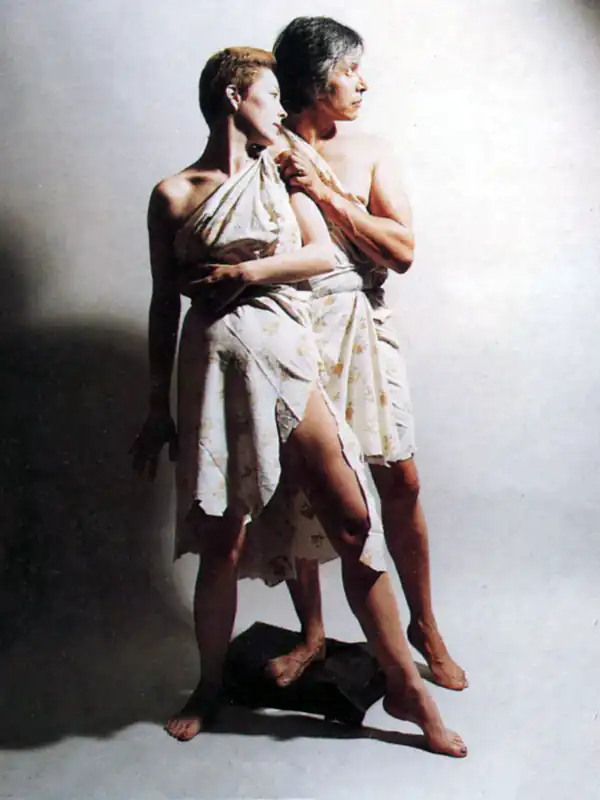
The realism of their paintings comes from the skilled use of reference material.
Boris and Julie have accumulated a vast library of art and nature books, magazines - anything really that shows textures and details they may want to paint.
Much of this they have photographed themselves.

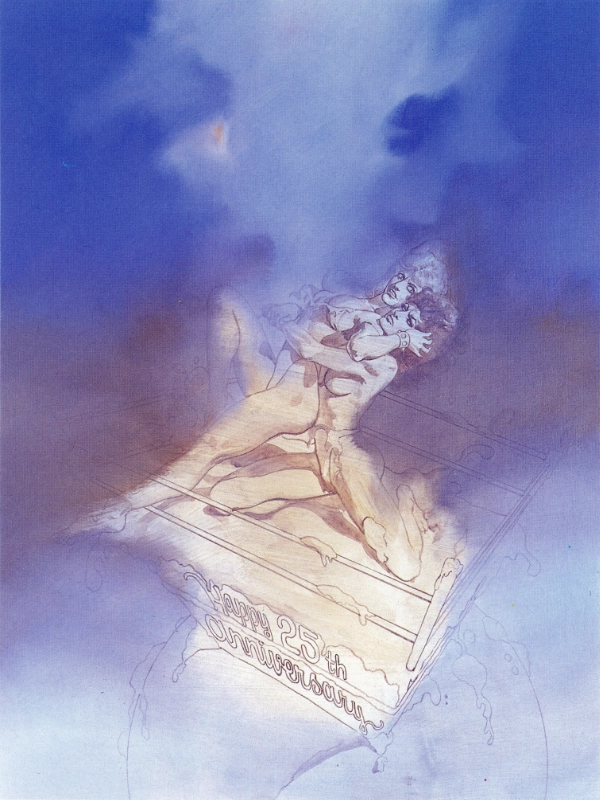
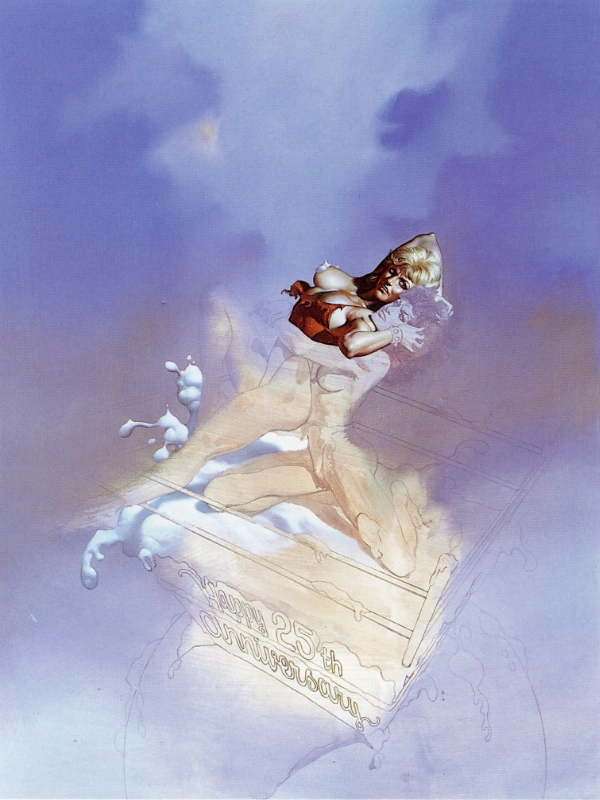
Experience is a great help for judging if a painting is going in the right direction.
To see whats going wrong is probably the most important thing for an artist...
To see what's wrong with a painting, turn it upside-down or view it in a mirror, another trick is to close one eye.